
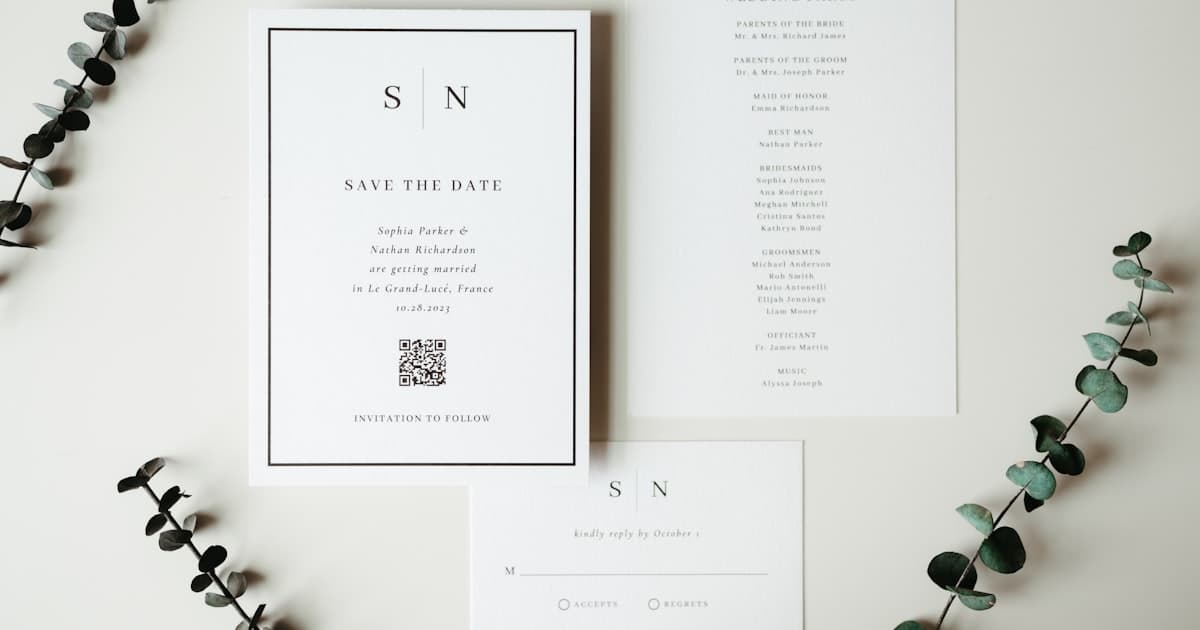
A wedding QR code invitation gives you the best of both worlds: the tactile beauty of a printed card and the full interactive power of a digital experience. Your guests receive a physical card they can admire on the mantelpiece — then scan one small code to unlock your entire wedding story on their phone.
This guide covers the hybrid strategy step by step: why it works, where to place the QR code, how to size it for reliable scanning, what URL to point it to, and how to test everything before you send cards to the printer. If you are still weighing the broader digital vs printed question, start with our digital vs printed wedding invitations guide.
Why the hybrid QR approach works
The printed invitation problem is well-known: a card can hold a date, venue, and dress code — but it cannot hold a five-event timeline, three venue maps, dietary-preference forms, live RSVP tracking, or a countdown timer. And if anything changes after printing, the card becomes a beautiful piece of misinformation.
The QR code RSVP wedding approach solves this without sacrificing tradition. Your printed card stays elegant and minimal — names, date, a single venue reference — while the QR code links to a full cinematic web invite that handles everything else.
The result:
- Grandparents get the physical card they expect
- Every guest gets interactive details on their phone
- You get real-time RSVP tracking from a single dashboard
- Last-minute changes update instantly behind the same QR link
- No reprinting when the reception start time shifts by an hour
This is not a compromise. It is intentional design — using each format where it has the strongest advantage.
What URL should your QR code link to?
This is the most important decision, and many couples get it wrong. Your QR code should point to a permanent, short URL that leads to your full digital invitation — not a Google Form, not a PDF, not a generic wedding website homepage.
The ideal link structure:
- A dedicated invite URL (e.g.
yourdomain.com/inviteor a platform-generated link likevowinvites.com/priya-and-arjun) - A URL you control and can update without regenerating the QR code
- A link that opens a mobile-optimized, scroll-based experience — not a desktop-first webpage
What to avoid:
- Google Forms or Typeform links (impersonal, no wedding context)
- PDF download links (defeats the purpose of interactive digital)
- Shortened URLs from services that expire (bit.ly free links can be reclaimed)
- Direct RSVP form links (guests miss the full invitation experience)
The best approach: use your digital invitation platform's shareable link. On Vow Invites, every invite gets a permanent URL that opens with an animated envelope, flows through your wedding story, and includes RSVP at the end. That single link is what your QR code should encode.
QR code placement on your invitation
Where you put the QR code matters as much as what it links to. Done well, it feels like a natural extension of the design. Done poorly, it looks like someone taped a tech sticker onto calligraphy.
Best placement options:
- Back of the main card — keeps the front design clean; a natural place for "scan for more"
- Separate insert card — a small 3×3" card in the envelope dedicated to the QR and a one-line explanation
- Bottom corner of the invitation — works if the design has enough white space (at least 15mm margin around the code)
- RSVP card replacement — instead of a traditional reply card with a stamped envelope, include a card that says "RSVP by scanning" with the QR code
Placement to avoid:
- Over busy backgrounds, patterns, or photographs (reduces scan reliability)
- Near the fold line of a folded card (distortion breaks the code)
- Inside the envelope flap (guests may tear through it)
Caption text — always include a short instruction next to the QR code. Even in 2026, not everyone instinctively knows to scan:
"Scan for RSVP, timeline & maps"
"Point your camera here for the full invitation"
"Scan to see our wedding story"
Keep the caption to one line. It should clarify what scanning does, not explain how phone cameras work.
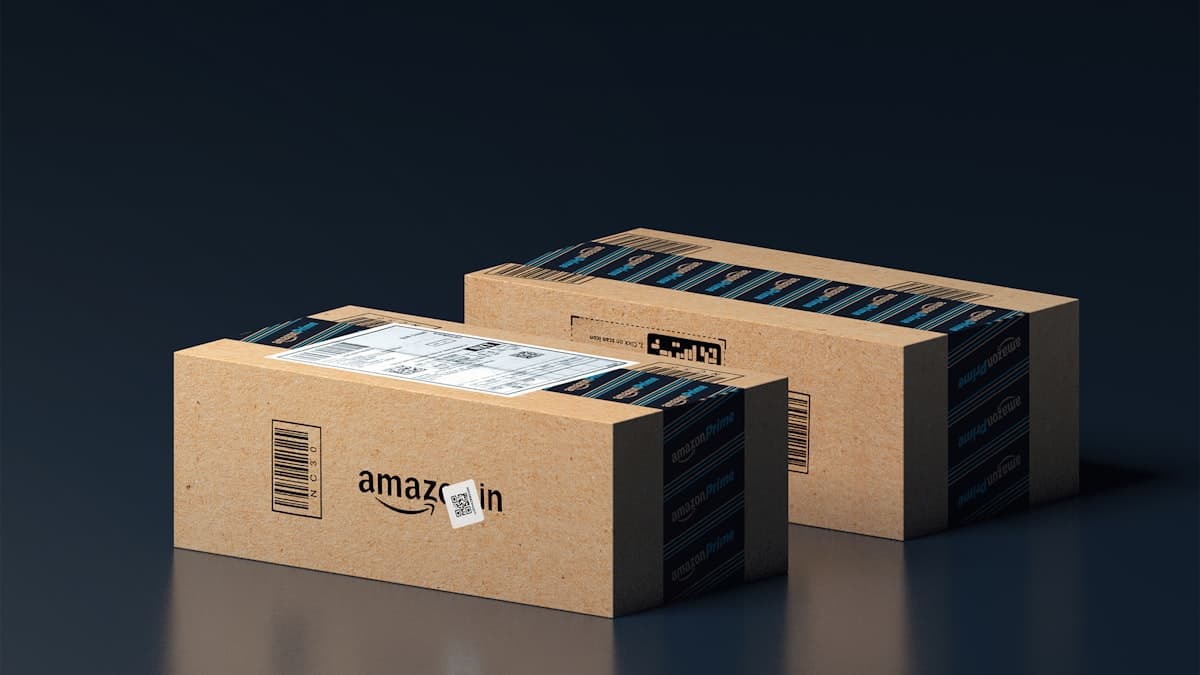
QR code sizing and design specs
A QR code that does not scan is worse than no QR code at all. Follow these specs for reliable scanning across all phone cameras:
Minimum size: 2 cm × 2 cm (0.8" × 0.8") — this is the absolute floor. Older phone cameras and budget Android devices struggle below this.
Recommended size: 2.5–3 cm × 2.5–3 cm (1"–1.2" square) — works reliably at arm's length and gives you room for a small logo in the center.
Quiet zone: Leave at least 3–4 mm of blank space (white or light background) around all four sides of the QR code. This margin is mandatory for scanners to detect the code boundary.
Color and contrast: Dark code on light background (black on white is most reliable). You can tint the code to match your palette — keep contrast above 4:1. Never invert (light on dark) — many cameras fail on inverted codes. Avoid gradient fills inside the modules.
Error correction level: Set to Medium (M) or High (H) when generating. Higher error correction means the code still works even if printing slightly smudges a few modules — or if you place a small monogram logo in the center (max 15% of code area at H level).
Resolution for print: Export the QR at minimum 300 DPI. Vector format (SVG) is ideal — it scales perfectly to any print size without pixelation.
Test before you print: the pre-print checklist
Once your cards go to the printer, there is no undo. A failed QR code means guests receive a beautiful but broken invitation. Test thoroughly:
1. Print a test page at actual size
Do not test on-screen. Print the card design at 100% scale on the same paper stock (or close to it). Screen pixels and printed dots behave differently.
2. Test with multiple phones
Scan the printed test with at least three devices: a recent iPhone, a mid-range Android, and an older phone (2–3 years old). Use the native camera app — not a dedicated QR scanner app — because that is what guests will use.
3. Test in different lighting
Scan under bright overhead light, dim ambient light, and natural daylight. Glossy paper stock can cause glare that blocks scanning at certain angles — if your paper is glossy, matte-coat the QR area or switch to a matte insert card.
4. Test the destination URL
Confirm the link resolves correctly, loads fast on mobile (under 3 seconds on 4G), and displays the full invitation experience — not a 404, login wall, or broken redirect.
5. Test after any design revision
If the printer adjusts margins or bleeds in prepress, request a digital proof and verify QR placement and quiet zone are preserved.
6. Test a week before the print run
Re-confirm the URL still works. Platform accounts expire, trials end, domains lapse. One final check saves hundreds of reprints.
What guests experience after scanning
The gap between a basic QR link and a great one is the landing experience. A QR code that opens a spreadsheet wastes the moment. A QR code that opens a cinematic, scroll-based invitation turns a printed card into a gateway.
A premium QR-linked invite includes: animated envelope opening, couple's story, scrollable event timeline, interactive venue maps, built-in RSVP form, live countdown, photo gallery, and optional background music. That is the promise of hybrid wedding invitations — print delivers tradition; the QR code delivers function and interactivity.
Curious whether the digital side feels "appropriate" for a wedding? See are digital wedding invitations tacky? — the short answer: not when the experience is cinematic.
Common mistakes to avoid
- Linking to a URL you cannot update. Use a redirect-capable short link or a platform with permanent invite URLs — not a hardcoded page you might need to change.
- Forgetting the quiet zone. Without 3–4 mm of clear space around the code, scanners cannot find the edges.
- Using a free QR generator that expires. Some dynamic QR codes stop resolving after 30 days. Use a static QR code or your invitation platform's built-in generator.
- Over-decorating the QR code. Extreme color, large center logos, and artistic "QR art" reduce scan reliability on older phones.
- Printing without a test scan. The number-one preventable failure. Always print a physical proof and scan it with real phones before pressing "go."
Frequently asked questions
What size should a QR code be on a wedding invitation?
Minimum 2 cm × 2 cm (0.8" square), with 2.5–3 cm recommended for reliable scanning. Always leave 3–4 mm of blank quiet zone around all sides. If your card is smaller than A6, use a separate insert card so the QR code is not crowded.
Can I customize the QR code to match my wedding colors?
Yes, with limits. Tint the dark modules in your wedding color as long as contrast stays above 4:1 against the background. You can add a small monogram in the center (up to 15% of code area) if error correction is set to High. Avoid gradients, inverted colors, or extreme rounding of the modules.
What happens if my wedding details change after printing?
This is the strongest argument for the QR approach. The printed card is already mailed — but the URL behind the QR code shows your live digital invitation. Update the venue, time, or event details on your platform, and every guest who scans sees the latest version. No reprinting, no apology texts, no confusion.
Should the QR code link to my RSVP form or my full invitation?
Link to the full invitation. Guests want context before they RSVP — they need to see the date, events, locations, and dress code. A cinematic web invite includes all of this with the RSVP form built in at the end. Linking directly to a bare RSVP form skips the wedding story and feels transactional.
Do all phones scan QR codes automatically?
All iPhones since iOS 11 (2017) and Android phones since Android 9 (2018) scan QR codes with the built-in camera — no separate app needed. For the rare older device, include the URL in small text beneath the QR code as a fallback (e.g. vowinvites.com/your-names).
Is it better to print the QR code on the invitation or on a separate insert?
Both work. A separate insert keeps the main design pristine and gives the QR code ample space. Printing on the back of the main card saves paper and ensures the code stays with the invitation. If your card has busy patterns or dark backgrounds, a separate insert on white stock is more reliable for scanning.
Related guides
- Digital vs printed wedding invitations — 2026 guide
- Are digital wedding invitations tacky?
- Digital wedding invitations — complete 2026 guide
- Try the live demo →
Ready to create your hybrid invite? Start building yours →